Using the Pen Tool
The project you’re going to make relies on the Pen tool, which draws a line behind the centre of a sprite as it moves. You’re going to learn to use it now!
Open a new Scratch project.
Online: open a new online Scratch project at rpf.io/scratch-new.
Offline: open a new project in the offline editor.
If you need to download and install the Scratch offline editor, you can find it at rpf.io/scratchoff.
Select the Scratch Cat sprite, and drag in a few blocks you may have already seen, until it looks like this:
Now, time to test out the pen!
To use the Pen blocks in Scratch, you need add the Pen extension.
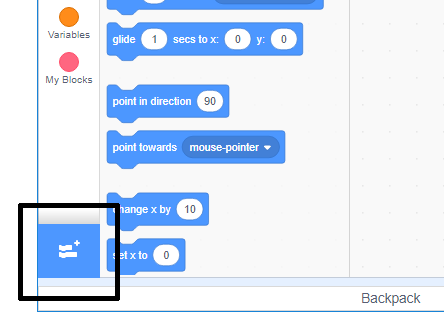
Click on the Add extension button in the bottom left-hand corner.

Click on the Pen extension to add it.

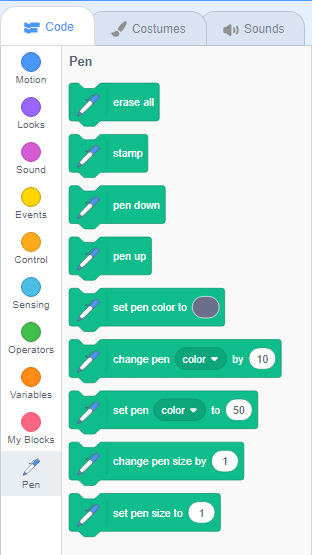
The Pen section then appears at the bottom of the blocks menu.

From the Pen section, select the pen down block and add it to the start of your program, like this:
Now click the green flag a few times and watch what happens.
If you can see the lines behind the cat sprite, then the pen is working and you can start making it draw really cool patterns.
First, you should get rid of the sprite. It’s getting in the way of the drawing!
Add a hide block from Looks to the start of the program and it’ll disappear.
Now, you can change the colour of the pen with another block from the Pen section, but the block is a little different to the others you’ve seen. It’s the set pen color to block and looks like this:
Drag a set pen color to block into your sprite panel, and snap it in above the pen down block.
Now, click on the box of colour (in the code above it’s the blue one), and choose a colour.
If you’ve been clicking on the green flag to test your code, you’ll have noticed that the drawings the pen makes don’t go away.
Add a clear block from the Pen section to the start of your code to take care of that:
